Waffle irons are just for making waffles, right? WRONG! Obviously, waffle irons do make waffles, but if you’ve only been using it for waffles, you’re missing out.
Waffle irons are an under-utilized appliance that can be found hiding in the far reaches of most kitchens (thanks to your gift registry, of course!). However, they’re actually a great, inexpensive tool to have in your kitchen that can do the job of several other appliances including a panini press, toaster oven and grill pan thanks to its unique honeycomb cooking surface.
#waffle irons aren't the one-trick pony once thought to be! Check out 4 new uses for your waffle iron. #saslife Click To TweetWaffle irons aren’t the one-trick pony you might have thought, so pull out that waffle iron your Aunt Sue gave you, dust it off, and experiment with the wonders you can create. Don’t stop at the traditional carb lovers breakfast of Belgian waffles swimming in maple syrup and check out these waffle iron wonders below!
What's your favorite "non-waffle" waffle iron recipe?
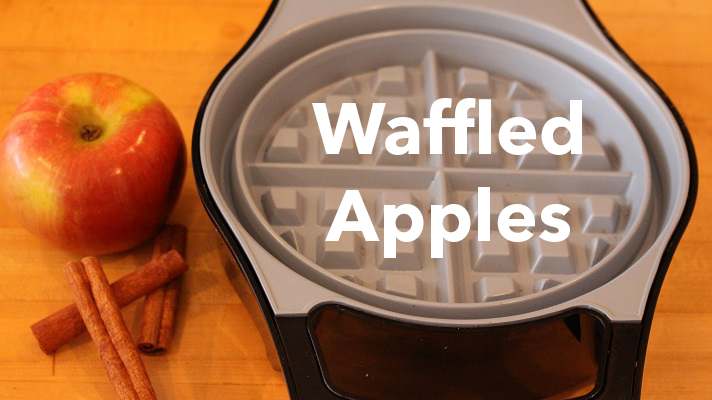
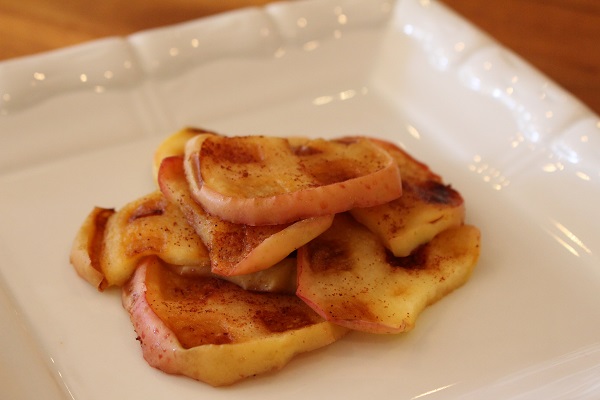
Waffled Apples
Makes 1 Serving
Recipe From: Cupcake Project
Ingredients
1 medium apple, sliced about ¼” thick
Cinnamon, to taste
Directions
- Pre-heatwaffle iron.
- Spray waffle iron with olive oil spray or melted coconut oil, butter or ghee (if not non-stick).
- Sprinkle cinnamon on both sides of the apple slices.
- Place one apple slice into each section of the waffle iron.
- Cook for 1-2 minutes, or until apples start to look “waffled” and caramelized.
- Gently remove from iron.
- Repeat until all apple slices are done.
- Serve immediately!
Make it a Snack: Serve with plain Greek yogurt, nuts, seeds, or cheese.
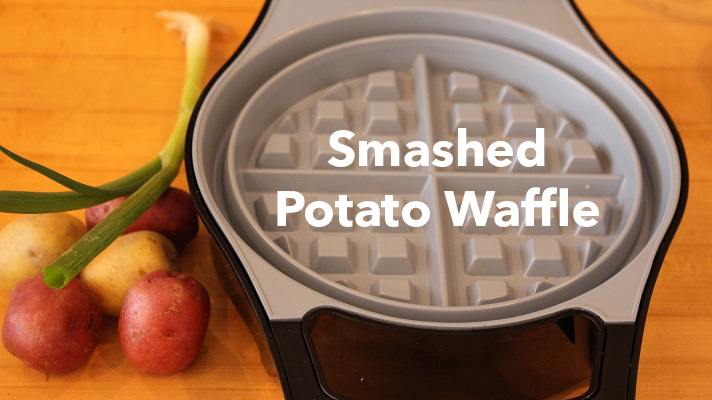
Smashed Potato Waffle
Makes 4 Servings
Recipe From: The Viet Vegan
Ingredients
1.5 lbs new potatoes
2 Tbsp butter or ghee, melted
Salt and pepper, to taste
Directions
- Boil potatoes in a large pot of water until fork tender, about 10-15 minutes depending on the size.
- Drain and let dry while you pre-heat the waffle iron.
- Baste waffle iron with a little melted butter or ghee for extra crispiness.
- Arrange potatoes on the waffle iron, about 1 potato per waffle “square” (this may vary depending on the size of your waffle iron).
- Press down firmly to “smash” the potatoes.
- Cook until golden brown and crispy, about 3-5 minutes.
- Gently remove from iron and season with salt and pepper, to taste.
- Repeat until all potatoes are done.
- Serve immediately!
Make it a Meal: Serve with protein and non-starchy vegetable of choice.
Notes
- To save time, boil a bunch of potatoes and store them in the fridge until you’re ready to use them. Then you can have hot, crispy potatoes in a flash!
- Be sure to select smaller potatoes (or cut larger potatoes into smaller pieces) so the waffle iron will close properly. If the potatoes are too large, you won’t get the crispiness that makes these so tasty.

Cauliflower Waffle Hash Brown
Makes 3 Servings
Recipe From: brookelark.com

Ingredients
1 head of cauliflower or 1 bag of riced cauliflower
2 eggs
1 large bunch of scallions, finely diced
2 Tbsp olive oil
2-3 Tbsp shredded cheddar cheese (optional)
Salt and pepper, to taste
Chili powder, to taste
Directions
- Cut cauliflower head in half and then in quarters. Remove the core and leaves. The florets will fall apart.
- Break apart or chop into smaller pieces.
- Place cauliflower into a food processor in a single layer.
- Pulse in short intervals until you have even rice-sized pieces. Be careful to not over-process or you’ll end up with cauliflower “dust.”
- Set aside in a large bowl and repeat until all cauliflower has been riced. (You can also use a bag of pre-riced cauliflower to save some time! If frozen, allow it to thaw a bit before using.)
- Pre-heat waffle iron.
- Spray waffle iron with olive oil spray or melted coconut oil, butter or ghee (if not non-stick).
- Combine cauliflower with eggs, scallions, olive oil, cheese, salt, pepper and chili powder.
- Spoon a third of the mixture into the preheated waffle iron.
- Cook until golden brown.
- Gently remove from iron and enjoy!
- Repeat twice until remaining batter is gone.
- Store leftovers in the fridge for 3-5 days and re-heat when ready to eat (they hold up surprisingly well and don't get soggy).
Make it a Meal: Serve with protein and nutrient-dense carbohydrate of choice.

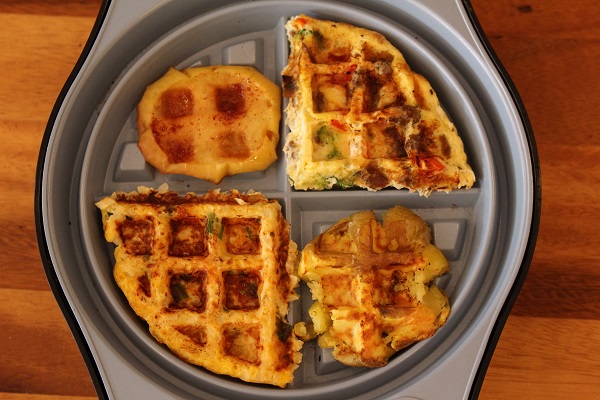
Waffle Iron Omelet
Makes 1 Serving
Recipe From: Kirbie's Cravings
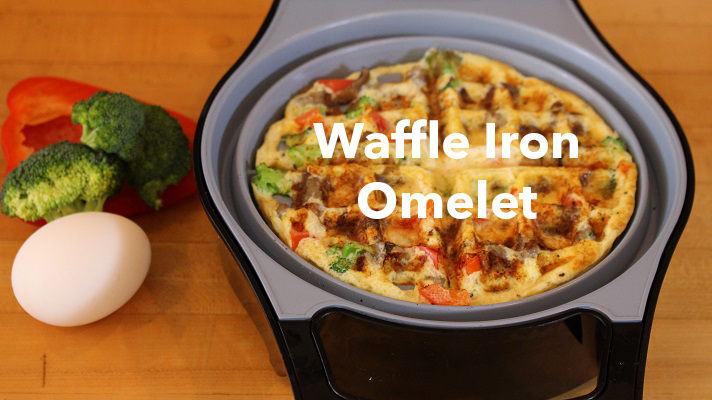
Ingredients
1 egg
1-2 Tbsp milk
Omelet ingredients of choice, about ¼ cup total (shredded cheese, chopped bell peppers, broccoli, mushrooms and/or tomatoes, cooked sausage, spinach, etc)
Salt and pepper, to taste
Directions
- Pre-heat waffle iron.
- Spray waffle iron with olive oil spray or melted coconut oil, butter or ghee (if not non-stick).
- Whisk egg and milk in a medium sized bowl.
- Stir in omelet ingredients of choice and salt and pepper.
- Slowly pour into preheated waffle iron. There should be a thin layer of batter across the entire surface of the bottom of the waffle iron (don’t add too much or it’ll leak out over the sides!).
- Cook until eggs are set.
- Gently remove from iron and enjoy!
Make it a Meal: Serve with fruit or roasted potatoes or enjoy as is with a slice of avocado.
Notes: If you don't have time to pull out your waffle iron in the morning, make these ahead of time and store in the fridge. They re-heat surprisingly well!